MIDI Casio Keyboard
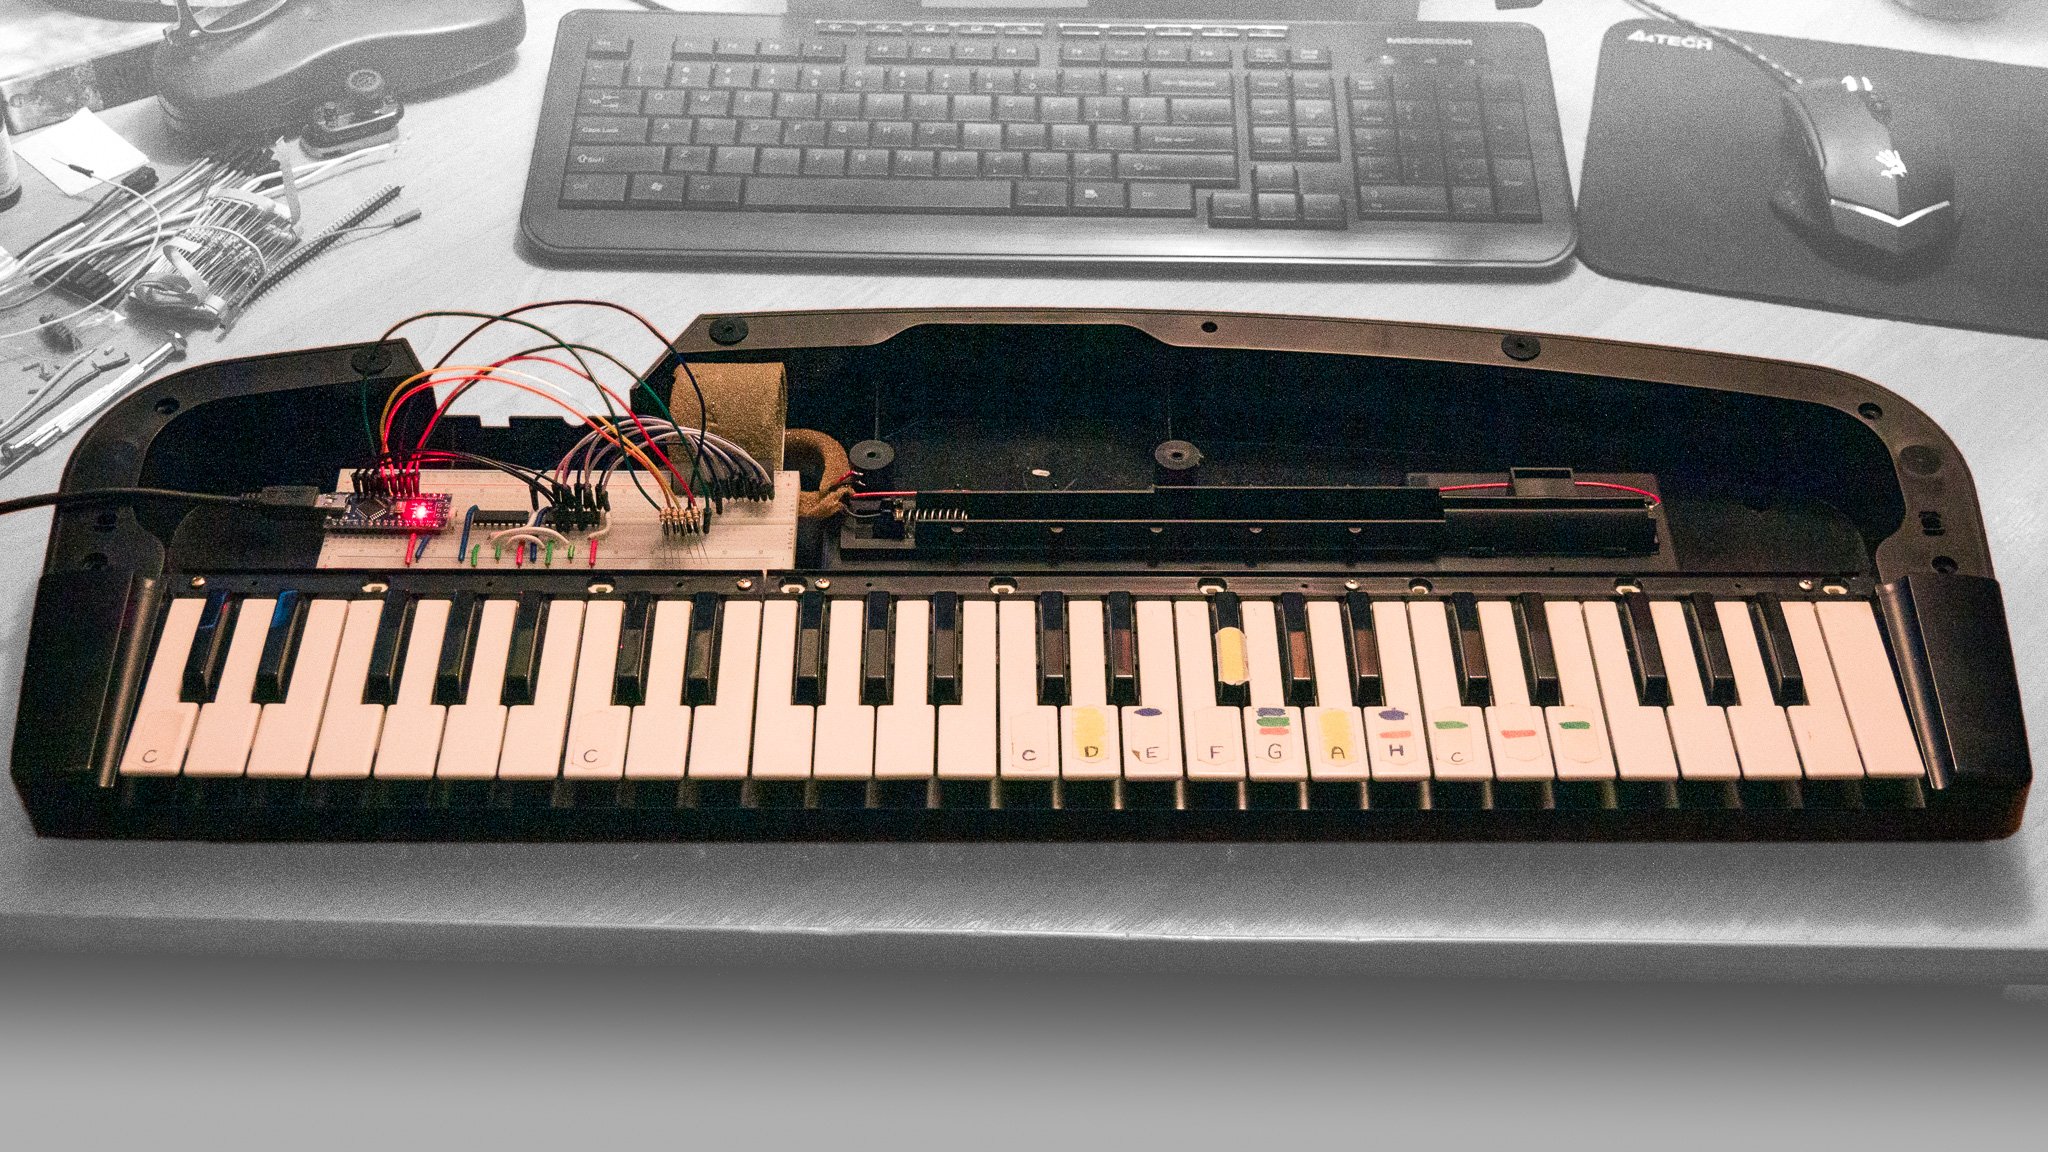
The goal of this project was to convert an old Casio keyboard into a MIDI controller. This gave a second life to a 20 years old device. Thanks to the implementation of the midi usb interface, it is possible to connect the device to a computer. This allows you to access an unlimited number of sounds and the ability to learn to play through programs such as Synthesia.
Elements
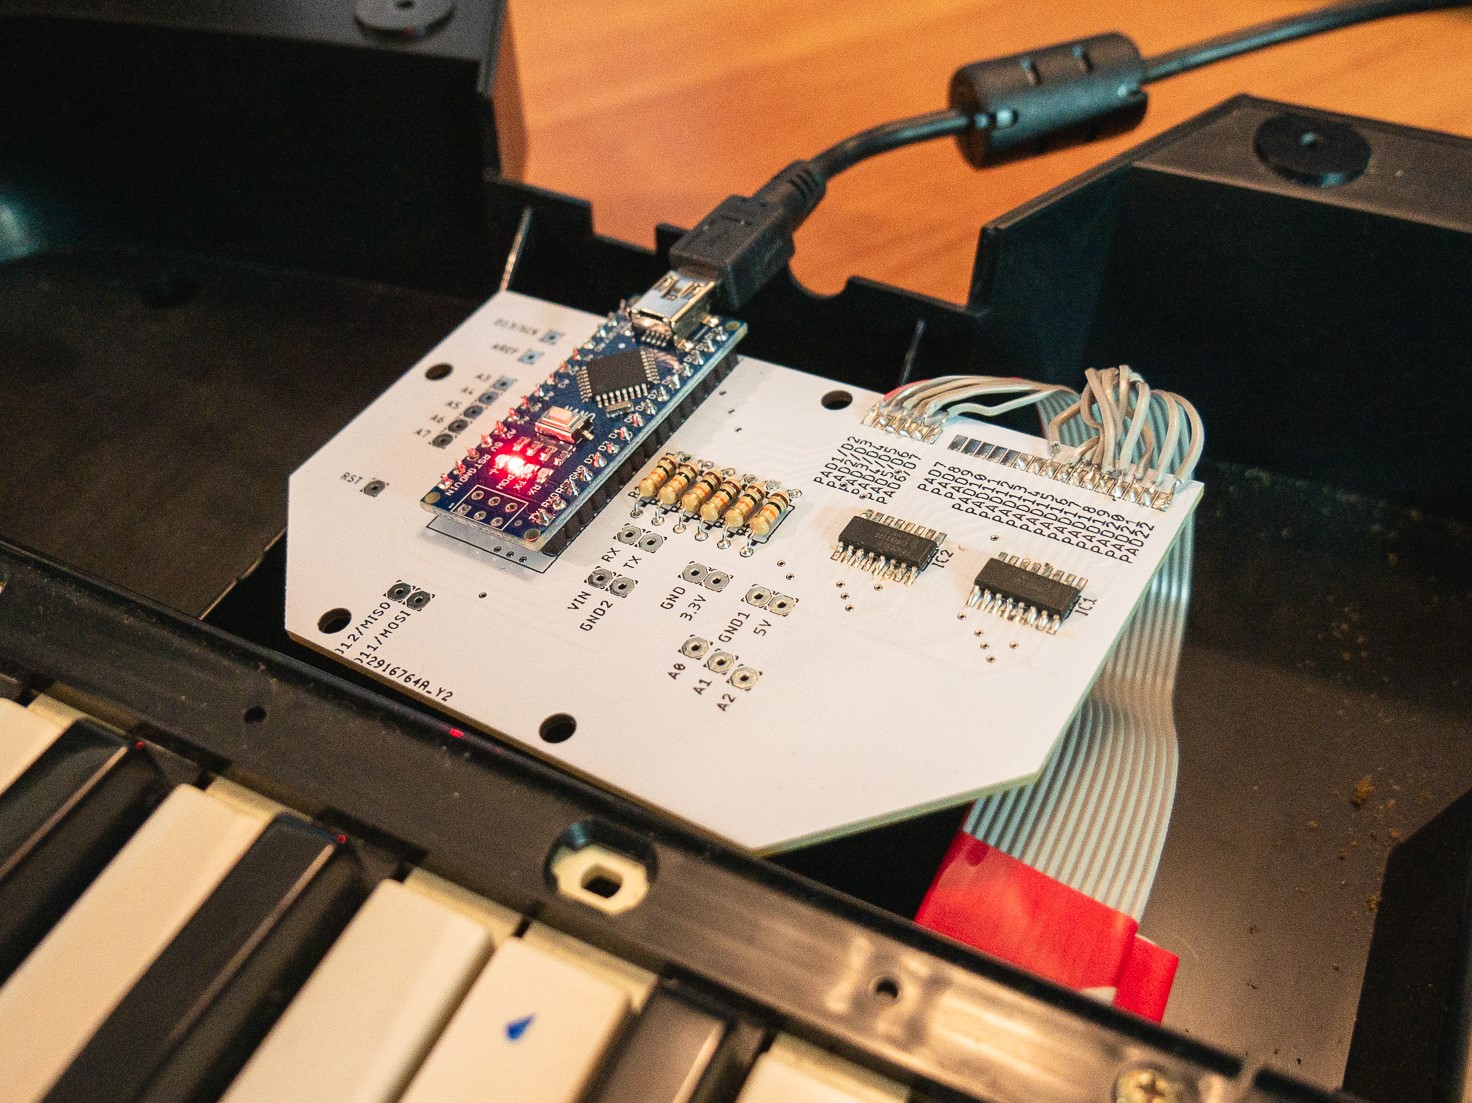
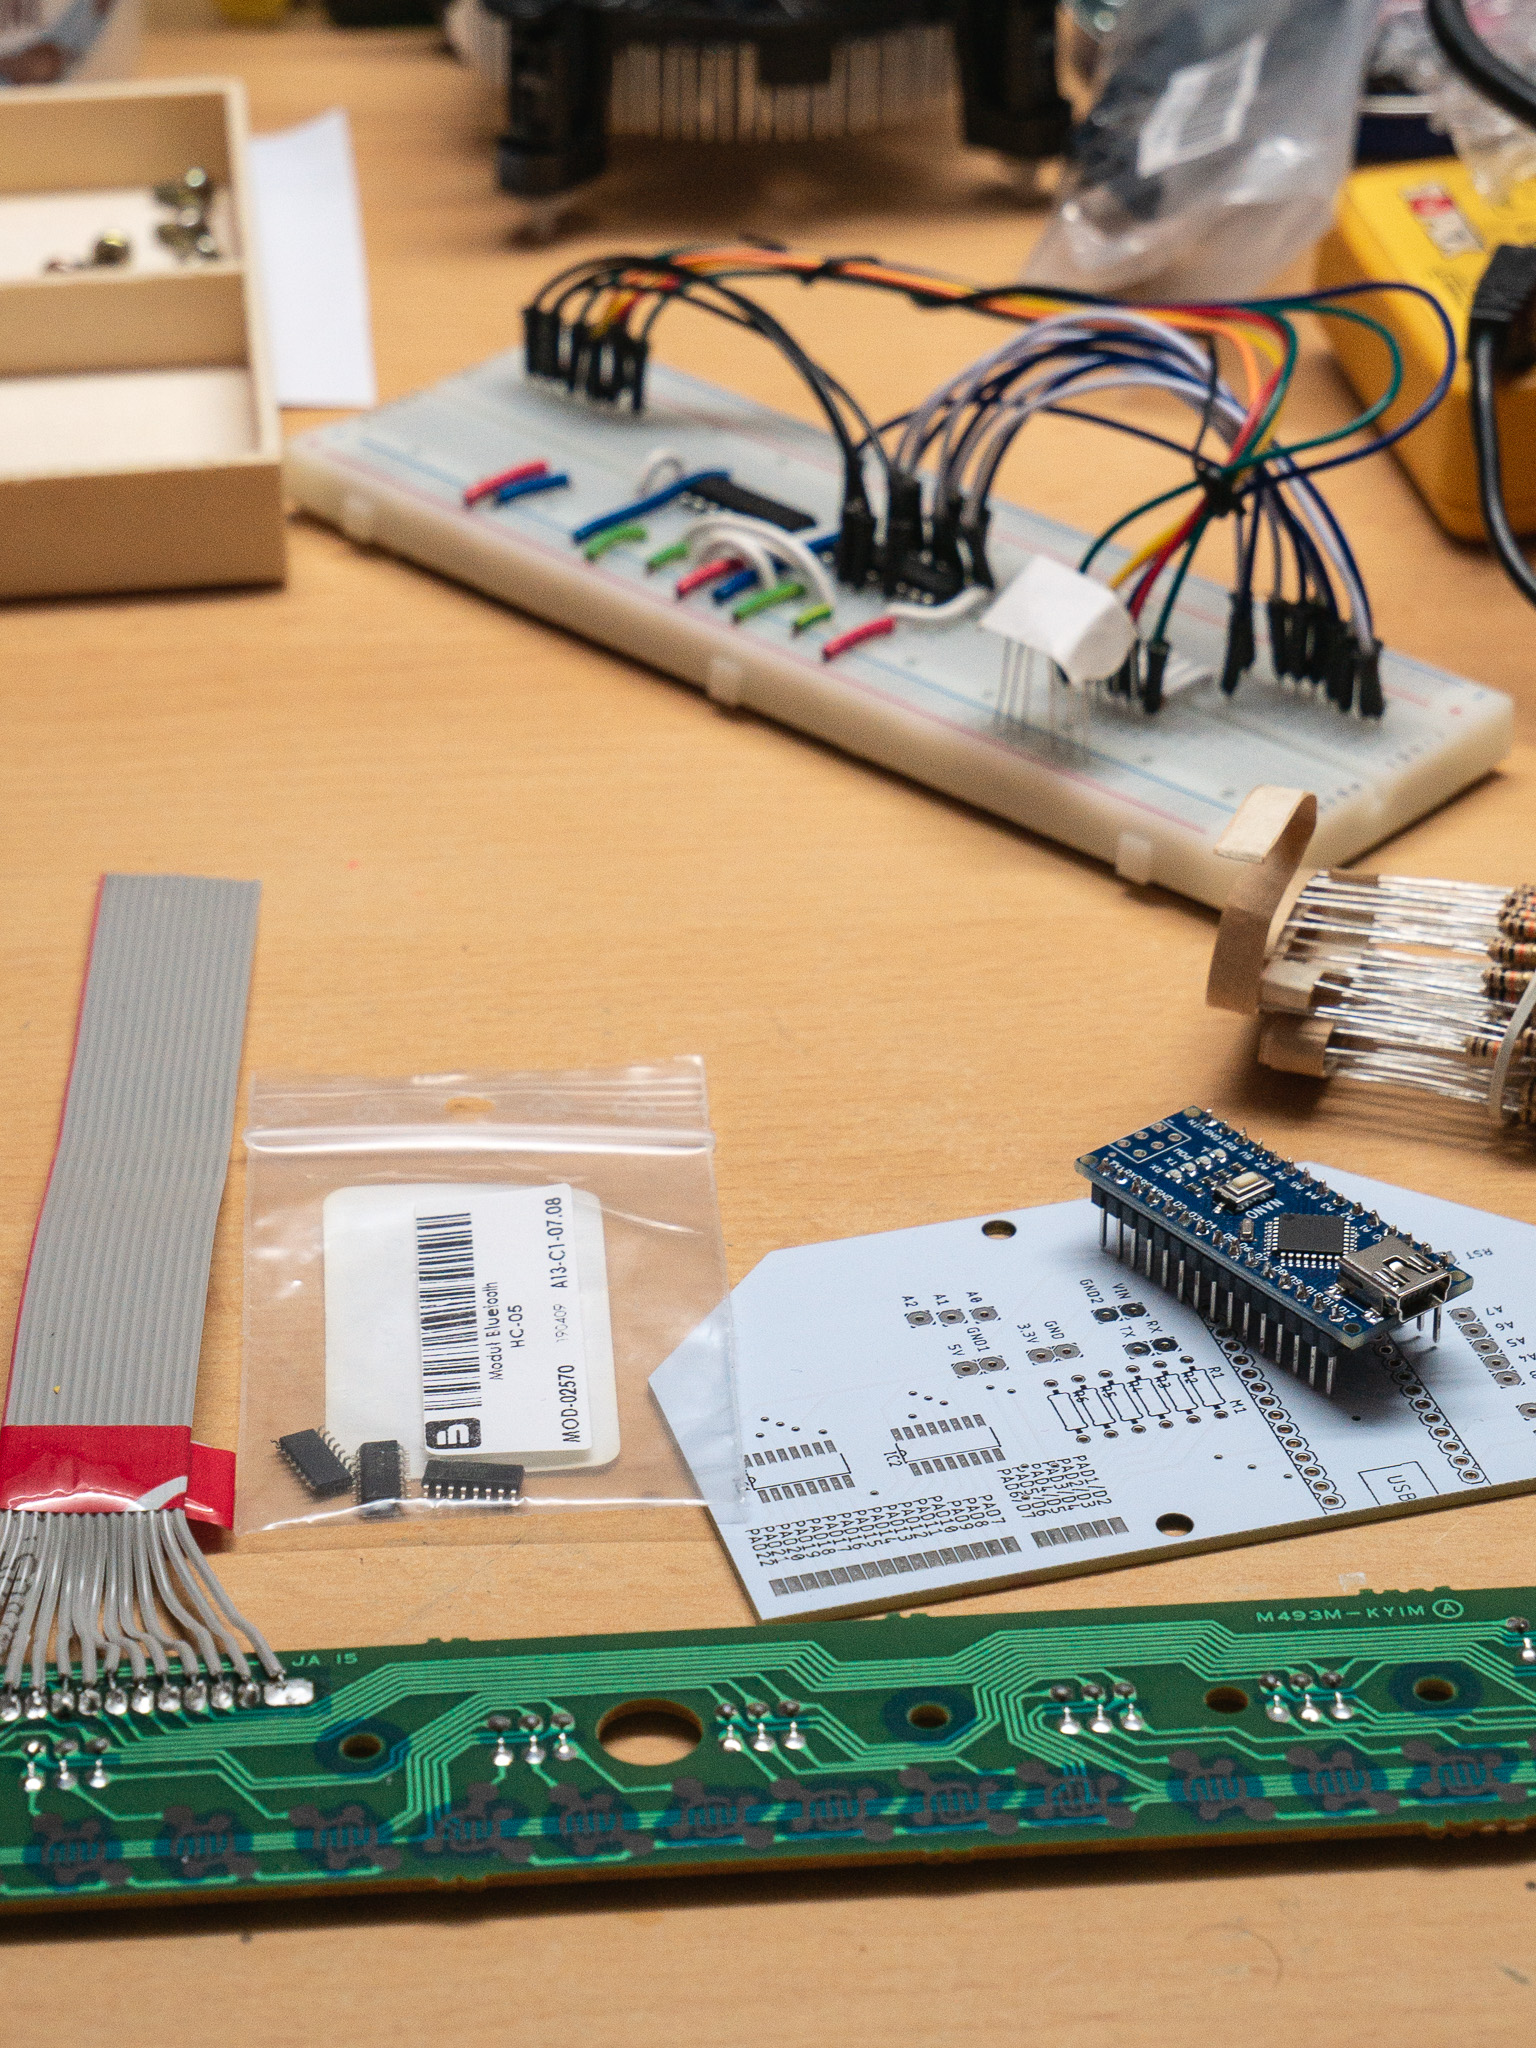
The device has only three components: Arduino Nano, two 8-bit shift registers, six pull-down resistors. The original circuit board was replaced with a specially designed PCB. There are additional leads on the board to allow transfer to a keyboard with more keys and to further develop the project by accessing all MCU pins. In addition, holes in the PCB to secure the board to the keyboad case are included.
Keyboard matrix
Most keys are connected in a matrix to reduce the number of cables. I checked all keys with multimeter and I found out that my keyboard has 6x9 matrix. The Arduino Nano doesn't have as many digital pins, so 6 row pins are connected directly to the Arduino and 9 column pins are connected to the shift registers.
Code
The code has a standard Arduino language structure. To enable MIDI communication via USB port built in Arduino, MIDI.h library is used. In the setup, the 3 pins connected to the shift register and the 6 keyboard outputs are defined. After that, a map of keys and corresponding tones is created. Then, in Loop the program continually scans all the keys by setting a high state to the next of the register outputs and checking the 6 keyboard outputs. The code doesn't use software debouncing because the keyboard has built-in capacitors to prevent it.
For full keyboard support on Windows or Linux the Hairless MIDI to Serial Bridge program is needed.